in group Cozy house
Happiness tree as mascot of your house (master class)
To make topiariya was one of points in my plans for fall about which I wrote here - www.wowcharm.us/post/21870/
And now, when outside the window which day there is bad weather I decided to brighten up such rainy day and was accepted to my creation about which I hurry to tell you.
Topiary it is possible to make of any materials which are pleasant you more which harmoniously would look in an interior of your doma or office.
It is possible to use leaves, flowers, cones for happiness tree, everything depends on subject a topiariya and your imagination.
For an example I want to show you the small trees of happiness which I already did for the family.
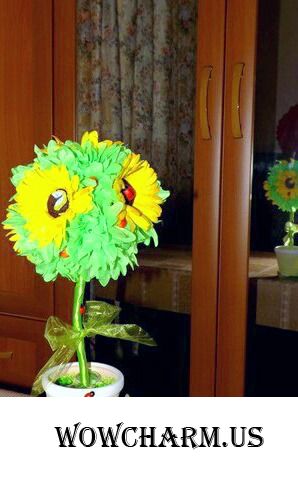
For my mother I made such here solar topiariya. It was my first gift of this sort.
For the Teachers' Day in school to the child I made such here autumn topiariya.
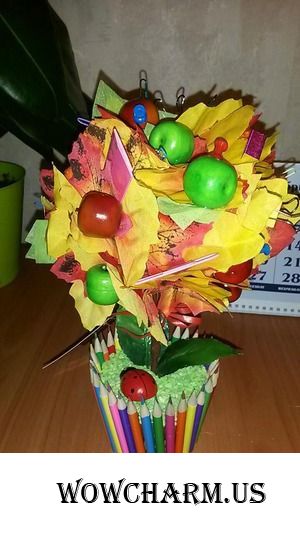
On it it is possible to make out pencils, paper clips and other accessories of the teacher.
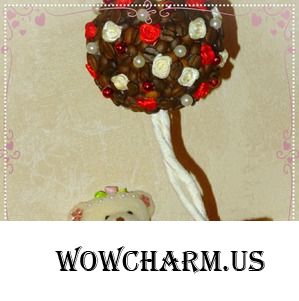
And the mother-in-law for New year waited coffee for topiariya which she asked me to make the day before.

Coffee topiariya left in my heart only pleasant memories therefore for the house I wanted to make something similar.
And now you are waited by a master class in production of a tree of happiness from coffee beans.
It is required to us:
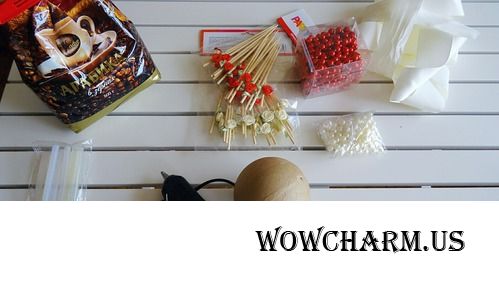
- a basis for a topiariya (sphere)
There is a wish to tell that I will use a special ready basis, but such it is possible to make and.

For this purpose it is necessary to crumple the newspaper in the form of a sphere, to tie up threads, previously in those parts which in a form are not similar to a form of a circle to enclose wadded disks, for example, or vatu. In general to make a ball of improvised materials. It is also possible to use the easy made foam children's ball.
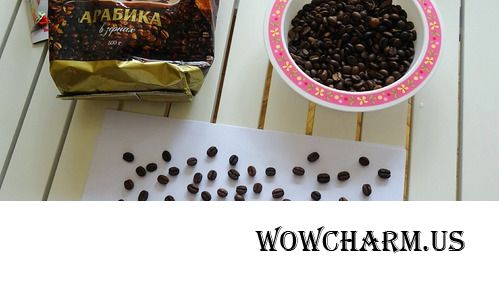
- coffee beans
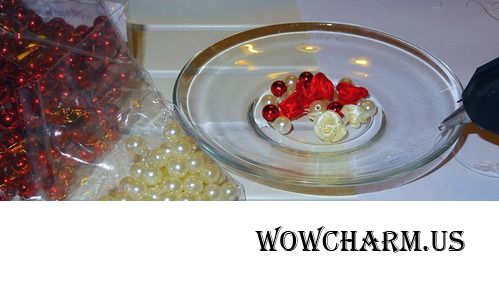
- jewelry (I will use beads and flowers)

- the glue gun and cores for it
All this is required to us for production of a top, krone of our tree.
For a start we will paint a basis in brown color that under its grains it was not visible. Let's use usual gouache. It quickly dries and is easily washed away from hands.

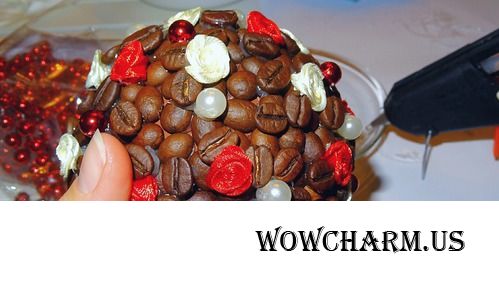
When the basis dries, we will begin to paste over it with grains, having left the small place for a leg in the bottom of a sphere. Such procedure of pasting for the most dense filling of a basis should be performed twice, more precisely in two layers.
The first layer we glue grains the flat party down densely to each other. At the same time do not worry if glue is visible from under grains, we will correct then it.
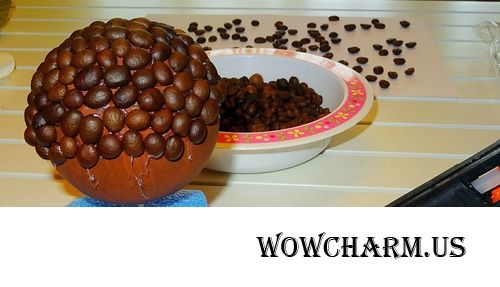
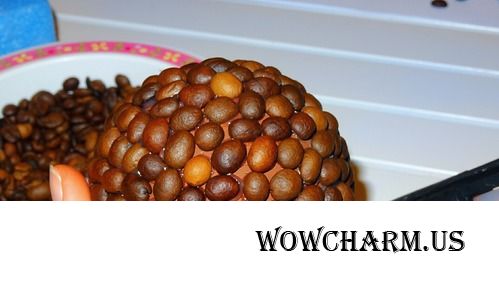
Because the following stage we will glue these beautiful grains the flat (beautiful) party up, filling and closing itself those places where glue is visible.
At the same time entirely it is not necessary to cover completely a sphere, grain glue with the same density as the first layer at all. Such unevenness will create an additional relief, the crown will become more impressive.
It is also possible to alternate grains to jewelry, evenly distributing them on a sphere.
When you made sure that the sphere has that form which you would like to reach and is decorated rather beautifully, we start production of a leg and a pot in which our tree will grow.
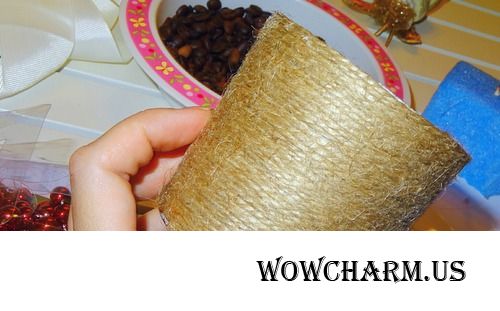
As a pot to me the ingenious thought came to use a candle at the last minute. At me it is a candle from IKEA usual white, with a vanilla smell in a glass glass.
As a pot it is possible to use also a usual clay pot, or any vase or capacity, having inserted into it a vraspor polyfoam or having filled in a leg with alabaster, sand, in general all in what topiariya will sit rather densely and will not drop out.
And so as I chose a wax glass candle, from outer side I decided to decorate it a rope. In order that the rope did not slide off glass, to the last I pasted a bilateral adhesive tape.

After our pot is ready, it is necessary to make a leg.
The leg can be executed from any rather thick wire, having wound it with a tape.
Also the pencil can serve as a leg, for example.
I used a wire. Having put it in half, I bound two ends of a wire among themselves.
Then twisted a wire with a tape of dairy color, having fixed edges by glue.
After the leg and a glass are ready, small scissors I made an opening in wax and implanted a leg into a glass.
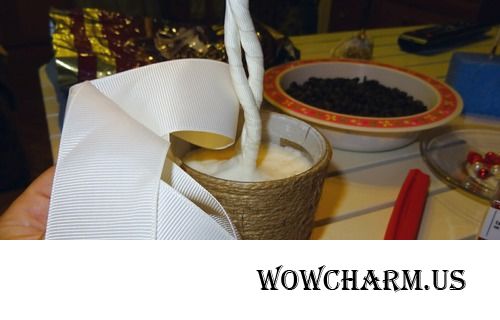

It was necessary to cover wax, for this purpose I used a glass crumb of red color that a candle it was not visible. Slightly decorated a pot, having tied a usual bow from a rope and having pasted a flower of red color.
After that I dressed ready krone on a leg, having fixed it by glue. Now my tree densely sat in a pot.
And here what at me turned out.

And here so the tree looks in my interior.

Thank you that glanced.
Please yourself and rejoice to trifles!
Copy the code and insert into a window of creation of record on LiveInternet, previously having included the Source mode there.
HTML-code: 
|
|
| The BB code for forums: |
How will it look?
wowcharm.us → Happiness tree as mascot of your house (master class)

|
Tree of happiness or topiary-it the house mascot capable not only to bring wellbeing and a cosiness in family, but also to decorate with itself any interior. To make topiariya was one of points in my plans for fall about which I wrote here - www.wowcharm.us/post/21870/... Read more: |
| "Purity without overpayment: Paclan developed low-price segment tablets for the dishwasher | | | Washing... advantages in details" |
|
Other discussed materials:
Meat in Kabardian (it is juicy, it is tasty)
How to diversify Maslenitsa: the new culinary ideas for a holiday table
And again an occasion to congratulate each other. With St. Valentine's Day! Let festively will be on heart and heat at heart.
Not terribly
|