Manicure MK "Veil"


I to you now with MK of such design (the beginning of my narration here - www.wowcharm.us/post/14292/)! As it was already told, it is also called kapron and tights... The word "veil" from them is simple as it seems to me - the most beautiful

Who decided on viewing of all MK, sit down
 a lot of information Will be more convenient! I will tell you also about my first experience of creation of Franken (in more detail that it here - www.wowcharm.us/post/11444/).
 So, let's look at design attentively. Actually, there is nothing difficult in respect of the equipment. The only thing - it is necessary to tinker to receive translucent black. This business by mixing of 2 varnishes turns out. And here it is just about Franken. Of course, you can try to mix black and transparent varnish on a palette, but keep in mind that such varnish can stiffen or thicken before you make up it all marigold which wanted. So think well - whether it is necessary to you?

If you (as well as me), liked this design so that you are sure that you will make it still more than once, - to make the best option Franken! If you do not have for this house of unnecessary transparent varnish, buy for this business though the cheapest and simple butylek for 30 rubles!
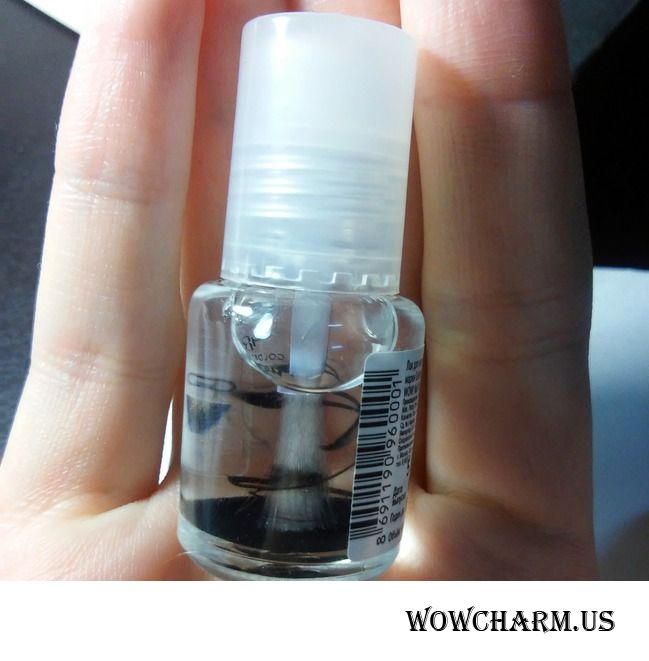
So, as I already told, are necessary to you for this step black varnish and transparent (we also will involve our "kapron" in it) - I have a crumb-butylek from Golden Rose. Also the palette is useful - at me it is the usual sheet of white paper (only not office - it strongly thin, is better to take paper on density as a Whatman paper or paper for drawing.).
And the experiment began!
I just on a droplet began to add to it black varnish (not at once much, and on a droplet - pay attention!). The very first steps are very interesting... If to stir a couple of times a brush, beautiful curls turn out 
I advise at first to be defined what transparency you want to achieve. I took into account at once that I will put it in 2 layers therefore did not do strongly dark.
So, it turns out that we have such algorithm: we drip a droplet - two, we stir in a butylka a brush, we check result on paper and if color insufficiently bright, we repeat again - until we receive the necessary tone. To mix I advise a brush. It is possible to shake, of course, butylek and to accelerate this process, but then keep in mind - so we will receive bubbles as a bonus

For descriptive reasons I show my palette. I ask not to pay attention to the next blots as this palette endured the last flashmob.


And here, after we received color necessary to us, we start directly the design! For a start, we watch that it is useful to us... From varnishes:

The smallest butylek - our Franken. You see to what he seems dark in a bottle! Further, black varnish. And the third - at will. Just I wanted to paint nails without "tights" with nyudovy varnish.
Now auxiliary butylk:
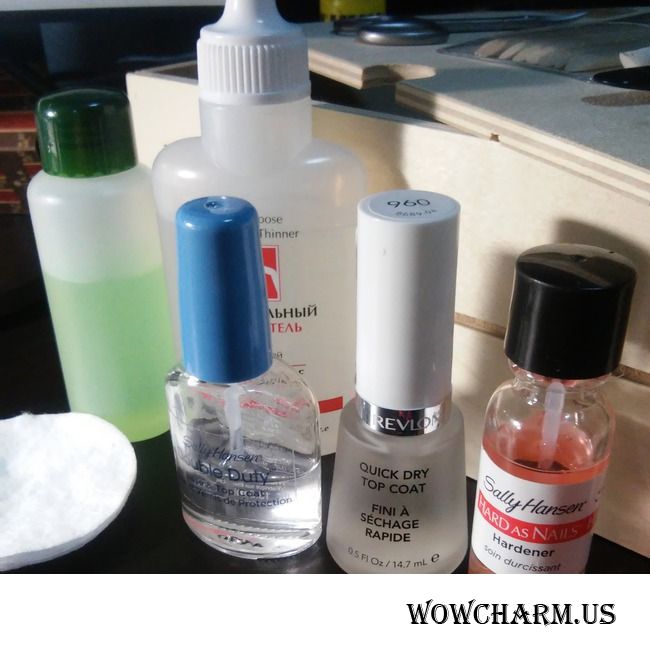
I ask not to be frightened to such quantity. It is what was personally used by me. You can manage smaller quantity. Big jars - zhdsl and thinner (it is not obligatory, but I will tell later why it on this photo is). Near row: base (on the right), top (at the left... though this means 2 in 1, and it it was possible to use also as base) and top drying (in the center, means at will too).
Tools if it is possible to call it so
 :
: 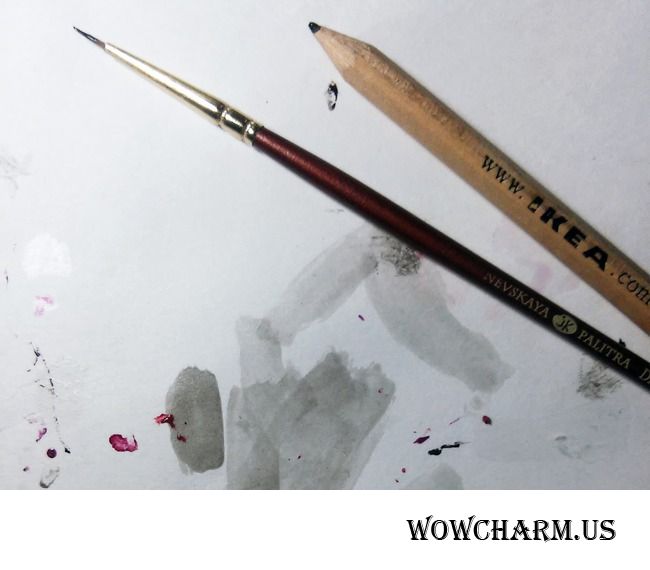
"Palette" already familiar to you, brush and... I have a pencil from IKEA.
A brush from usual office shop - synthetics, size 00. Chose that which has shortest pile. And a pencil I in this case put ends. Generally, in principle here had to be dots 
And here, at last reached the process!
Naturally, we begin with a covering of nails with base!

Further, that everything dried evenly and at the same time, we apply the first layer of color varnish on each nail. That is - Franken and a nyud (or any other on your discretion):

And, actually, we begin to draw an ornament!

It can be points, here such "zavitulk". that you want
Examples and the ideas just is in the previous post. I decided to draw "from myself". Therefore if you do not want, as I - to think out already on the course, I recommend to think over a pattern in advance.
Here thinner - though my black varnish yet not dense was also useful to me, I all the same decided to dilute it that it was easier to draw. It really became more liquid and convenient for work as a brush.
To draw black, it is possible to drip a drop on a palette and to dip our brush in it. Or it is possible to collect varnish from a big brush from varnish. I do not recommend to dip in a bottle of thin as it is easy to soil it. Also before drawing on a nail every time is better "to paint" a brush on a palette, having carried out the line - two. So we remove from it superfluous.
Moreover, sometimes the brush becomes already rather firm to conduct the smooth line therefore I lowered it in zhdsl, a wadded disk removed surplus and continued to draw.
I have very problem black varnish because jellylike. For obtaining really black color the thick layer is necessary, otherwise all will appear through
 Therefore the initial pattern can seem strongly uneven and relief - be not frightened if at you is also. Tops everything will even out.
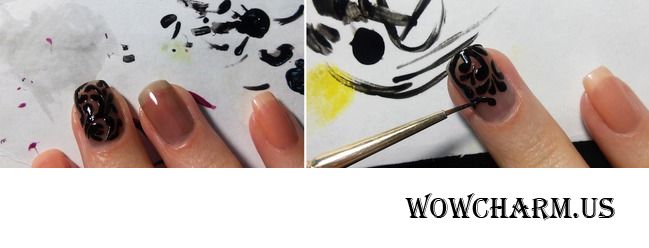
Probably, the most laborious moment - an inking! It is possible to begin with any party. I first of all led round tips of nails as this simplest
When I draw a side stripe, the Veda is not direct on a nail contour, and I recede a little. It is optional, but just like that I a little visually adjust a form. 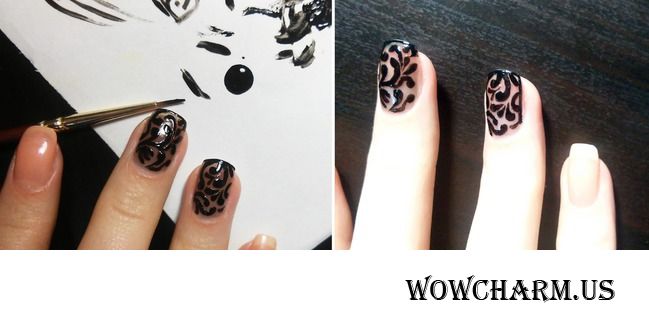
Let's agree about the simple rule which will facilitate drawing of an inking: turn to yourself a finger so that you completely saw the plane in which you draw!
In the middle - an evident photo where it is visible how the finger with an inking looks, and as without
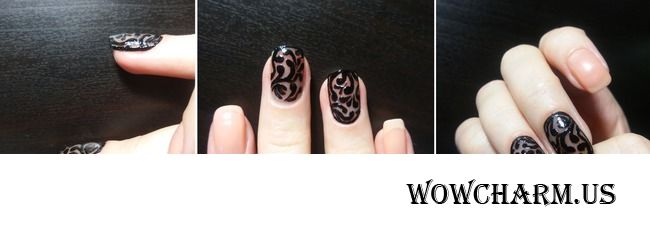
Further, we cover everything on the second layer. On the next fingers - nyud, on "tights" - Franken. On a photo on the right on a ring finger there is the second black and transparent layer, and on an average is not present. Do you see a difference?

Why do I cover with Franken two times? The matter is that my top drying has property to grease the drawing therefore the pattern just would "float". Plus, the more layers will be over an ornament, the speaker the drawing will smooth out better.
It was possible to stop also on it, but I added still a tochechka on nails.

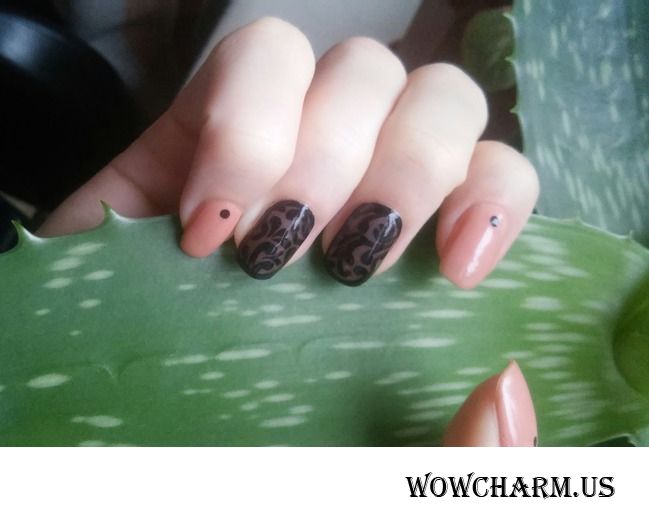
And then - the top coverings. Also we wait for full drying. Actually and all!

As it turned out, to judge already to you.

At day lighting:
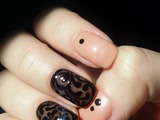
And still - a photo after a covering an opaque top:

Thanks to all who mastered!


Sorry, just briefly I am not able to write.
Copy the code and insert into a window of creation of record on LiveInternet, previously having included the Source mode there.
HTML-code: 
|
|
| The BB code for forums: |
How will it look?
wowcharm.us → Manicure MK "Veil"
|
And again hello! I to you now with MK of such design (the beginning of my narration here - www.wowcharm.us/post/14292/)! As it was already told, it is also called kapron and tights... The word "veil" from them is simple as it seems to me - the most beautiful Who decided on viewing of all MK, sit down a lot of information Will be more convenient... Read more: |
| "How to draw a snowflake. | | | Stemping. My personal experience." |
|
Other discussed materials:
The personal cosmetologist - sauerkraut
The taxi with adventures
Results of the 118th stage "Magnets". Winners.
St. Valentine's Day? No, it tomorrow, and today we purely women's company celebrate the Day of Girlfriends.
|


